
How to Take Good Pictures of Yourself in 2026 (Phone-Only Guide)
A practical, source-backed guide to taking good photos of yourself with only a phone: window light, the right camera settings, why arm's-length selfies distort your face, posing without looking posed, shooting alone without a tripod, and how to edit without crossing into deception.
ON THIS PAGE
Almost everyone who says "I take bad photos" is describing a setup problem, not a face problem. The light was behind them. The phone was 30 centimetres away. They took three frames, blinked in two of them, and concluded something about themselves that was never true.
This guide is the setup. It covers the light, the settings worth changing, the distance that stops your nose from looking 30% wider than it is, how to pose without looking posed, how to shoot alone with no tripod, and how to edit without crossing the line into a photo that no longer represents you.
Everything here assumes one thing: you have a phone and a window. No camera, no studio, no photographer.
#The Short Answer
If you only read one section, read this one.
| Step | What to do | Why it matters |
|---|---|---|
| 1 | Face a window, not sit with it behind you | Frontal soft light removes shadows and makes eyes brighter |
| 2 | Put the phone 1.5–2 m away at eye level | Kills the wide-angle distortion that inflates your nose |
| 3 | Use the rear camera at 2x, not the front camera | Better sensor, flatter perspective, less distortion |
| 4 | Take 30 frames, not 3 | You need choice to find one where you look like you |
| 5 | Move between frames | Frozen poses read as tension; movement reads as ease |
| 6 | Fix light and colour first when editing | Most "bad photos" are badly exposed, not badly faced |
| 7 | Stop before you change your face | An edit should reveal you, not replace you |
That is the whole method. The rest of this guide explains why each step works and how to do it properly.
#Why Your Phone Is Enough
There is a persistent belief that good portraits require a "real camera". For the photos most people actually need — a dating profile, a LinkedIn headshot, a social post, a family picture — a modern phone is not a compromise. It is often better than a DSLR in the hands of someone who has not learned to use one.
The reason is computational photography. A phone takes several exposures in a fraction of a second and combines them, correcting for the weaknesses of a tiny sensor. The result is a well-exposed, sharp image in conditions where a beginner with a manual camera would produce something muddy.
What a phone cannot do is fix geometry. If the lens is too close, your face is distorted. If the light is behind you, your face is a silhouette. If the background is cluttered, it competes with you. Those are physical problems, and this guide is mostly about solving them.
What a phone also cannot do is decide. It will happily give you 30 mediocre frames. Choosing the right one is a skill, and it is the one most people skip.
#Light: The Only Thing That Really Matters
If you change one thing, change this. Light does more for a portrait than the camera, the lens, the outfit or the pose.
#Use a window, and face it
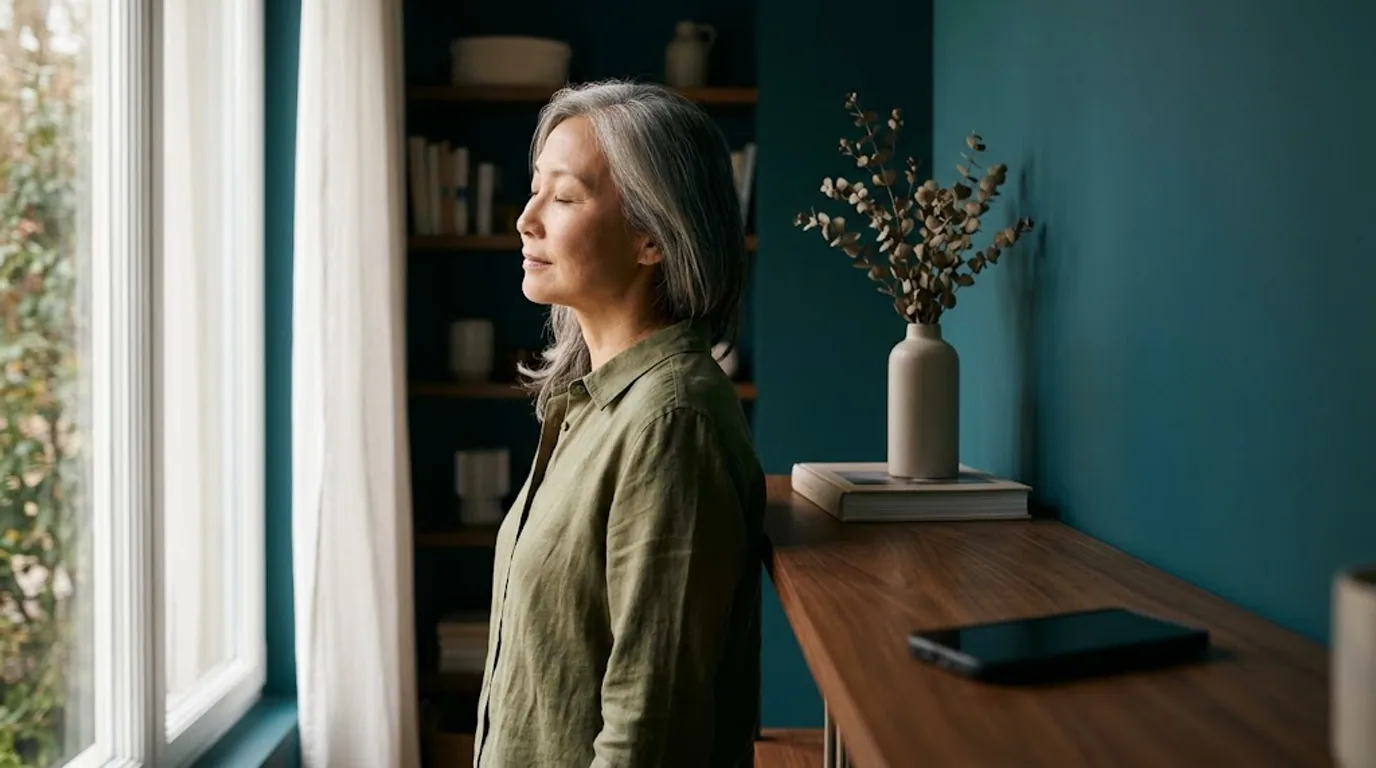
Stand in front of a window with daylight coming toward you. Not beside it, not with it behind you — toward you. This is called frontal light, and it does three things at once: it lights both sides of your face evenly, it puts a catchlight in your eyes that makes them look alive, and it removes the shadows under your eyes and nose.
A north-facing window in the northern hemisphere gives soft, consistent light all day. A south-facing window gives stronger light that changes with the hour. Either works; the north-facing one is just more forgiving.
#Watch what the light is doing to your skin
Hold your hand up in the light and look at it. If you can see hard-edged shadows, the light is too harsh for a face. Move further from the window, or wait for a cloud. If you see soft, gradual shading, you have found the spot.
#Never shoot with the window behind you
This is the most common mistake in home photography, and it produces the most common complaint: "my face is dark". A bright window behind you turns your face into a silhouette, and no amount of editing recovers the detail.
If the room only works with the window behind you, turn your body 90 degrees so the light rakes across your face from the side. Side light is dramatic and flattering in its own way, but it is a different look, not a substitute for frontal light.
#When you have no daylight
Evening shoots are fine. You need two things: a light source in front of you at eye level, and something to soften it.
Put a lamp on a table in front of you, roughly at the height of your face. Then diffuse it — hang a white sheet, a thin curtain or a sheet of tracing paper between the lamp and you. The diffusion is what turns a harsh bulb into something that behaves like a window. Without it, a bare bulb creates shiny highlights on the forehead and nose and hard shadows under the chin.
Avoid the ceiling light directly above you. It creates shadows in the eye sockets and under the nose that no one finds flattering.
#Camera Settings Worth Changing
Most phone camera settings should be left alone. A few are worth turning on before you start.
#Turn on the grid and the level
The grid overlays a rule-of-thirds guide on the screen. It helps you place your eyes in the upper third of the frame rather than dead centre, which is a more natural composition for a portrait. The level indicator tells you when the phone is straight, so you do not end up with a tilted horizon.
On iPhone: Settings → Camera → Grid and Level. On most Android phones the grid lives in the camera app's settings menu.
#Lock focus and exposure on your face
Tap and hold on your face until the focus and exposure lock. This stops the camera from refocusing on the background or brightening the whole frame because a bright window came into view. It is the single most useful technical trick in phone photography, and almost nobody uses it.
Once locked, you can drag the exposure slider up or down to taste. Slightly darker than the camera suggests is usually better for skin, because it preserves detail in the highlights.
#Use Portrait mode selectively
Portrait mode blurs the background to make you stand out. It is excellent when the background is messy — a kitchen counter, a bookshelf, a street with people in it. It is unnecessary when the background is already plain, and it can produce ugly artefacts around hair edges, glasses and ears.
The rule: if you would not notice the background in the final photo, you do not need Portrait mode.
#Avoid digital zoom beyond 2x
Phones with more than one rear lens usually have a 2x or 3x optical lens. Use that. Beyond the optical range, the phone crops and upscales, and the result looks soft. If you need to get closer, walk closer.
#Turn off beauty filters
Smoothing and face-reshaping filters are the fastest way to make a photo look like it was taken in 2019. They also destroy skin texture, which is one of the strongest signals of a real photograph. If your phone applies a filter by default, find the setting and switch it off.
#Distance and Angle: The Selfie Distortion Problem
This is the section most guides skip, and it is the reason many people believe they are unphotogenic.
#The study
In 2018, researchers published a mathematical model in JAMA Facial Plastic Surgery titled "Nasal Distortion in Short-Distance Photographs: The Selfie Effect". They calculated how a camera at different distances changes the way a nose looks.
The finding: at 12 inches, roughly arm's length, a selfie increases perceived nasal width by about 30% in men and 29% in women compared with a portrait taken at 5 feet.
That is not a small effect. It is the difference between the face you see in the mirror and the face you see in a selfie, and it explains a very common and very specific insecurity.
#Why it happens
It is pure geometry. When the camera is close, your nose is much closer to the lens than your ears are. Things that are closer appear larger. When you step back, the relative distances flatten out and the proportions return to what people actually see.
The same effect widens the forehead and narrows the jaw. It is the reason a 24 mm selfie and an 85 mm portrait of the same person can look like distant cousins.
#The fix
Put the phone 1.5 to 2 metres away, then use the 2x lens to fill the frame. This is the phone equivalent of a portrait lens, and it produces proportions much closer to reality.
If you cannot get that far back, get as far as the room allows and crop afterwards. A slightly soft photo with correct proportions beats a sharp photo with a distorted face.
#Keep the camera at eye level
A camera below eye level looks up your nose and emphasises the chin and neck. A camera above eye level enlarges the forehead and makes the eyes look small. Eye level is neutral, and neutral is what you want for a photo that has to represent you.
If you are taller than your prop, raise the prop. If you are shorter, use a lower shelf. The camera should be level with your eyes, not tilted up or down.
#Posing Without Looking Posed
The awkwardness in most self-taken photos comes from one thing: the subject is standing still and waiting. Real portraits capture a moment between movements, not a held position.
#Give your body something to do
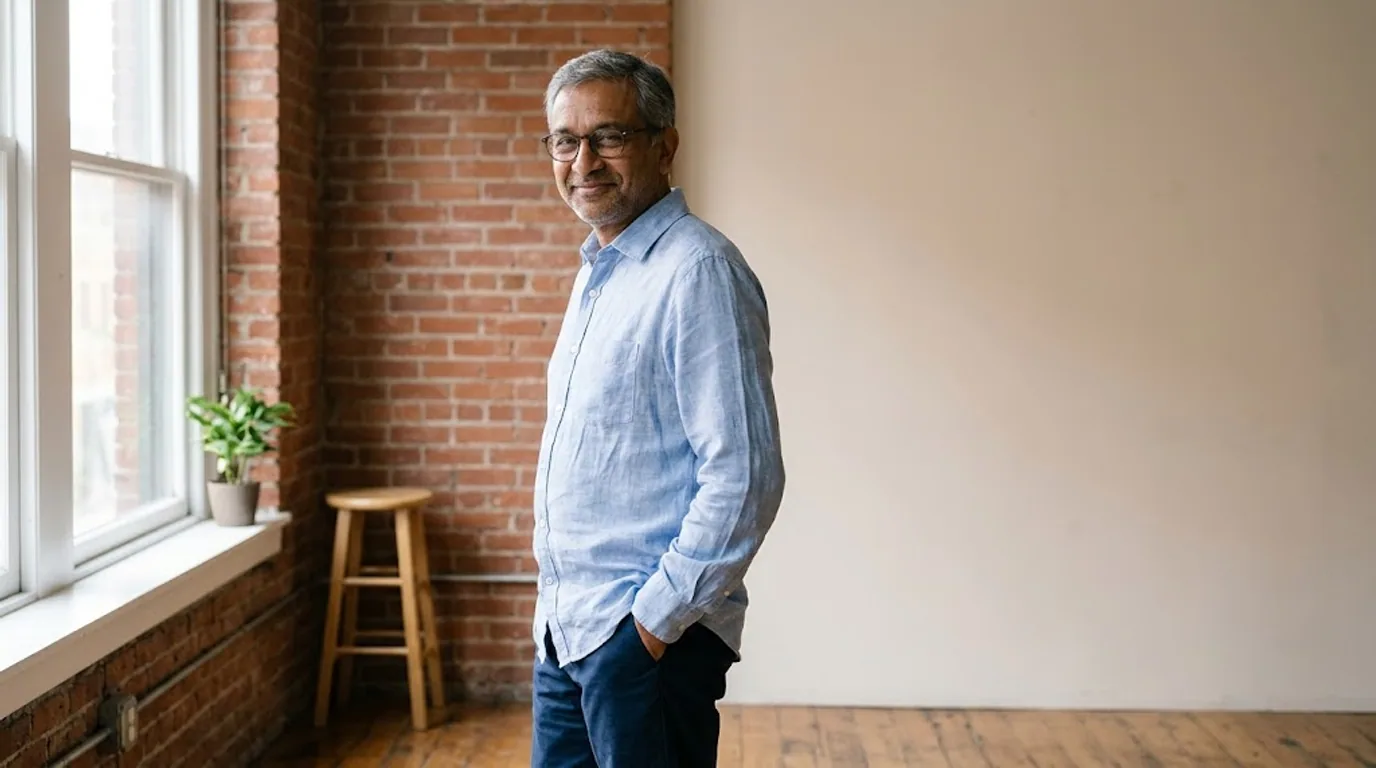
- Shift your weight onto one leg. This creates a natural curve and stops you looking like a passport photo.
- Turn your shoulders slightly away from the camera, then turn your head back toward it. The body angle adds depth; the head angle keeps connection.
- Use your hands. One hand in a pocket, one hand holding a jacket, one hand resting on a hip, one hand around a mug. Empty hands hanging at your sides are the single most common source of stiffness.
- Leave a gap between your arms and your torso. Pressed arms flatten the body and create odd shadows.
#Move between frames
Set the timer to take a burst, then move continuously: shift, breathe, turn slightly, look away, look back. Somewhere in that sequence there is a frame where you look relaxed, because you were not trying to hold a pose.
This is why 30 frames beats 3. The good frame is usually not the one you were aiming for.
#Chin and neck
Push your forehead very slightly toward the camera, not your chin up. This tightens the skin under the jaw and removes the double-chin effect without making you look like you are stretching. It feels unnatural; it looks natural.
Do not tuck your chin down. It creates a shadow under the jaw and shortens the neck.
#A note for men and women
The mechanics are the same, but the defaults differ. Men often benefit from squarer shoulders and a slightly wider stance; women often benefit from a stronger hip shift and a softer shoulder line. Neither is a rule. The universal principle is the same: create asymmetry, because symmetry held still reads as a mugshot.
#Expression: Eyes Before Smile
A forced smile is the most recognisable thing in photography. It is also the easiest to avoid.
#The eyes do the work
A real smile engages the muscles around the eyes. A fake smile only moves the mouth. That difference is what people mean when they say a photo looks "off" without being able to explain why.
To get the eyes involved, you need an actual thought, not an instruction. "Say cheese" produces a mouth smile. Thinking of a specific person, a specific joke, or a specific moment produces an eye smile — because the expression is a response, not a pose.
#Three smiles worth practising
- The micro-smile. Lips closed, corners slightly raised, eyes relaxed. This is the professional default, and it works for LinkedIn, resumes and formal contexts.
- The open smile. Teeth visible, eyes engaged. The dating default, and the warmest option.
- The laugh. Not a posed laugh — a real one, caught mid-motion. The most alive of the three, and the hardest to fake.
Take a set of each. You will find that one of them looks like you and the others look like a person trying.
#Relax the forehead
Tension shows up in the forehead and jaw before anywhere else. Raise your eyebrows once, then let them drop. Unclench your jaw. Take a breath and let your shoulders drop on the exhale. Do this between frames, not during them.
#How to Shoot Alone (With or Without a Tripod)
You do not need another person, and you do not need a tripod.
#The setup that works
- Choose your window and your spot.
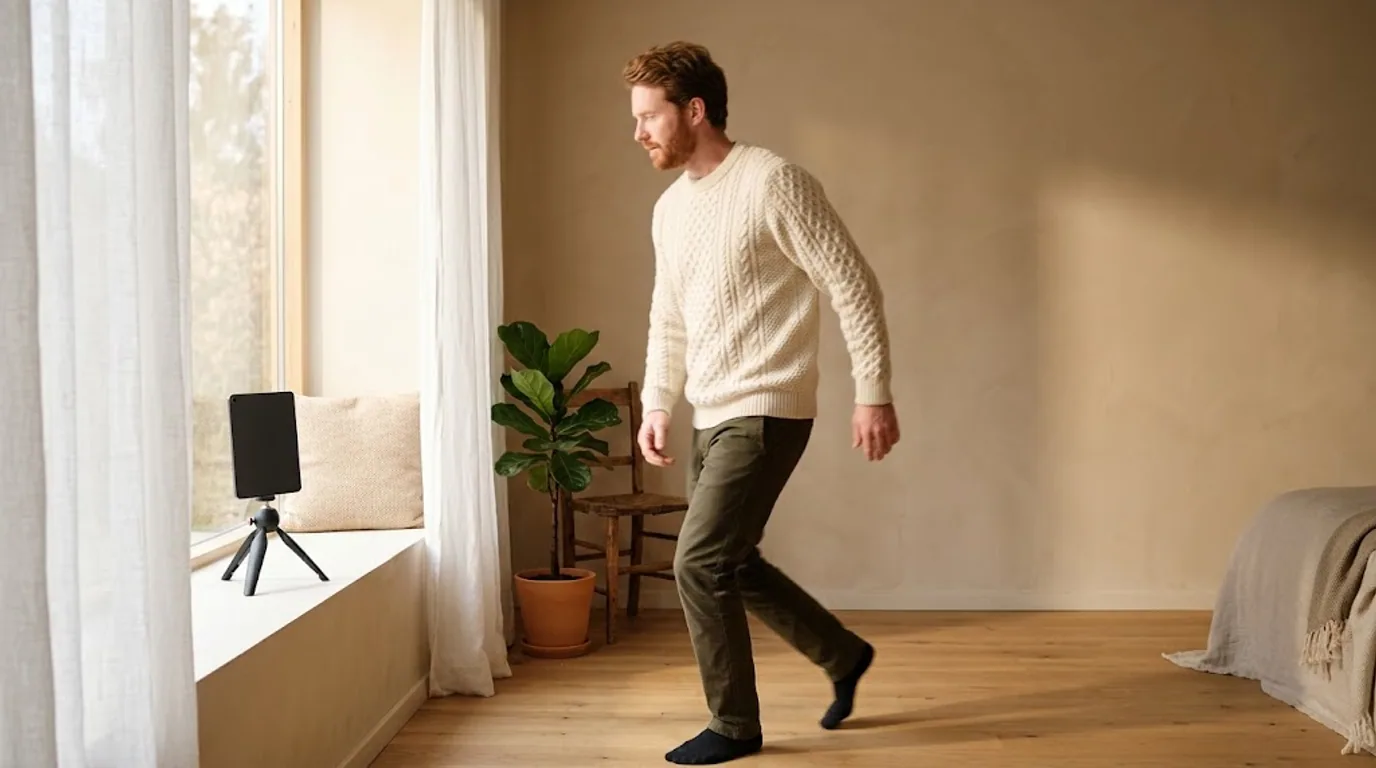
- Prop the phone at eye level, 1.5–2 metres away.
- Switch to the rear camera and 2x.
- Turn on the grid and the timer.
- Lock focus and exposure on where your face will be.
- Take 30 frames, moving between them.
#If you have a tripod
Use it. A tripod gives you height adjustment, stability and repeatability. A cheap phone tripod is one of the highest-return purchases in home photography.
#If you do not
Anything stable works. Shotkit's guide to self-portraits suggests a stack of books, a shelf, a desk, a windowsill, or the roof of a car when you are outside. The requirement is stability, not equipment: a phone that moves during the exposure produces a soft photo, and a phone that is at the wrong height produces a distorted one.
#Trigger the shutter without touching the phone
Touching the phone to press the shutter moves it. Three ways to avoid that:
- Use the timer (3 seconds if you are ready, 10 if you need to walk into position).
- Use the volume button, which most phones map to the shutter.
- Pair a Bluetooth earbud and use its play/pause button as a remote shutter.
The earbud trick is the least known and the most useful, because it lets you take a burst while you are still moving.
#Full-body shots
For a full-body frame you need more distance — three to four metres if the room allows. Use the main lens rather than the ultra-wide, and keep the phone at chest or eye level rather than tilting it up. Tilting up makes legs look longer and the head smaller, which is a real effect but an obvious one.
#Background and Clothes
#Background
The background has one job: to separate you from it without competing with you.
- Plain is safest. A wall, a curtain, a door. Neutral colours — grey, cream, soft blue, sage — work with almost everything.
- Contrast with your hair. Dark hair against a dark wall disappears. Light hair against a white wall does the same. Check the edge of your head in the frame before you shoot.
- Depth helps. Standing a metre or two in front of the wall creates a slight falloff that separates you from it. Standing against the wall flattens the image.
- Remove the obvious distractors. A bin, a pile of washing, a television, a mirror. You will notice them later if you do not notice them now.
#Clothes
- Solid colours beat patterns. Stripes and logos pull attention away from your face and date quickly.
- One level above your daily default. For LinkedIn, that usually means a shirt or a smart knit rather than a t-shirt. For dating, it means something you would actually wear on a date.
- Check the neckline. A collar frames the face; a low or messy neckline distracts from it.
- Avoid all-black in low light. It absorbs detail and merges with shadows.
For platform-specific guidance, our dating app photo guide and LinkedIn headshot authenticity guide go deeper into each context.
#The Same Rules, Different Contexts
The fundamentals do not change, but the emphasis does.
#Dating apps
Warmth beats polish. A genuine smile, soft light and a real setting outperform a studio portrait, because the goal is to look like someone a person would want to meet, not like a corporate headshot.
You need variety: a clear face photo first, then a full-body shot, then something that shows an activity, then a social frame. Our guide to fake-profile detection is the mirror image of this advice — it explains what other people are looking for when they assess your photos.
#LinkedIn and professional use
Consistency beats drama. Neutral background, micro-smile, solid colour, tight crop. The photo should look like you on a normal working day, slightly better lit. Recruiters are not assessing artistry; they are assessing whether you look like a plausible colleague.
#Social media
Freedom. Colour, movement, unusual angles and candid frames all work here, because the context is entertainment rather than representation.
#Passports and official documents
Different rules entirely: no filters, no smiles in many countries, plain background, specific dimensions. Do not apply this guide's styling advice to an official photo. Our passport photo guide covers the requirements.
#From 30 Frames to One Photo
Taking the photos is half the job. Choosing is the other half, and it is where most people fail.
#Review at full size
Do not judge on the phone screen. A photo that looks fine at thumbnail size can be soft around the eyes when you open it on a laptop. Zoom in to 100% and check the eyes first, because that is where viewers look.
#Reject in this order
- Eyes closed or half-closed. Automatic reject.
- Soft focus. If the eyes are not sharp, nothing else matters.
- Awkward expression. Not "ugly" — awkward. The face that is mid-transition between two expressions.
- Bad crop. Haircut off, chin cut off, too much headroom.
- Distracting background. Something behind you that draws the eye.
- Wrong proportions. If you shot too close, the face will look distorted; that frame cannot be saved.
#Then choose from what is left
You are looking for three things: the eyes are engaged, the shoulders are down, and the expression is one you would recognise as yours.
Usually two or three frames survive. That is normal. Thirty frames producing two usable photos is a good ratio, not a failure.
#Editing: What to Fix and What to Leave Alone
Editing should finish a photo, not reinvent it.
#Safe edits
- Exposure. Brighten a slightly dark frame or recover a slightly hot one.
- White balance. Remove the yellow cast from indoor light or the blue cast from shade.
- Contrast. A small lift makes the image feel less flat.
- Cropping. Tighten to the face, level the horizon, remove edge distractions.
- Dust and temporary blemishes. A spot on the lens, a crumb on a shirt.
- Sharpening. A little, if the photo is slightly soft.
#Edits that cross the line
- Face reshaping. Narrower jaw, larger eyes, smaller nose. This is the edit that turns a photo into a different person.
- Age removal. Smoothing away every line makes a 40-year-old look 28, and then look like no one in real life.
- Skin texture removal. Poreless skin is the strongest "edited" signal there is. Keep texture.
- Body reshaping. Same principle as the face.
- Teeth whitening beyond the plausible. Slightly brighter is fine; glowing is not.
The test is simple: would someone who met you tomorrow recognise you from this photo? If yes, the edit is fine. If they would hesitate, it is not.
This is not only an aesthetic question. Dating apps and professional platforms require photos that represent you, and the research on recruiters shows that recognition triggers a strong negative reaction — not because AI is involved, but because the photo was a promise the person could not keep.
#When an AI Headshot Makes Sense
There is a real use case for AI headshots, and it is narrower than the marketing suggests.
It makes sense when:
- You need a professional portrait and have no usable photo set.
- You cannot access a photographer, a studio or good light.
- You need consistency across a team or a website.
- You need multiple looks — formal, approachable, creative — from one session.
- You are short on time and the context is not one that requires proof of presence.
It does not make sense when:
- The context requires proof that you were physically present, such as passport photos or dating app verification.
- You would need to change your face, age or body to get the result.
- The platform explicitly prohibits generated photos for that use.
Our own Nothron Neural Headshot Generator is built around the first list: it uses your own photos and aims to preserve your features rather than invent a face. If you want the input-photo checklist, read how to take photos for an AI headshot generator — it is the natural next step after this guide.
#Frequently Asked Questions
#How can I take good pictures of myself with just a phone?
Face a window, stand one and a half to two metres back, use the rear camera at 2x zoom, put the phone at eye level and take thirty frames instead of three. That single setup — frontal daylight, distance, eye-level camera and volume of attempts — fixes most of what people blame on their face. Editing comes last and should correct light and colour, not features.
#Why does my face look different in selfies?
Because the camera is too close. A 2018 study in JAMA Facial Plastic Surgery modelled the effect and found that a photo taken at 12 inches, roughly arm's length, increases perceived nasal width by about 30% in men and 29% in women compared with a portrait taken at 5 feet. The cause is geometry, not your face: features nearest the lens are magnified relative to features further away. Step back and zoom instead.
#Should I use the front camera or the rear camera?
Use the rear camera when quality matters and you can see the screen, for example with a tripod, a mirror or a timer. The front camera is convenient but is usually wider and closer to your face, which exaggerates the distortion described above. For a dating or LinkedIn photo, prop the phone, switch to the rear camera at 2x, and use the timer.
#What is the best lighting for a photo of yourself?
A large window with indirect daylight, positioned in front of you rather than behind you. Soft light from a big source wraps around the face and hides small shadows; direct sun makes you squint and casts hard shadows. If you only have a lamp, put it at eye level in front of you and move it close, then diffuse it with a white sheet or a curtain.
#How do I take photos of myself without a tripod?
Prop the phone against something stable at eye level: a stack of books, a shelf, a windowsill, a wall, or the roof of a car if you are outside. Use the three- or ten-second timer, enable the grid, and trigger the shutter with the volume button or a paired earbud so you are not touching the phone. Stability matters more than the stand.
#Why do I look awkward in photos?
Usually because you are holding still and waiting, which reads as tension. Give your body something to do: shift your weight onto one leg, turn your shoulders slightly away from the camera, rest a hand on a pocket or a hip, and move between frames rather than freezing. Take a breath and release your shoulders on the exhale. Movement produces the relaxed frames.
#Should I smile in photos of myself?
For a dating photo, yes — a genuine smile is one of the strongest signals you can send. For a LinkedIn or professional photo, a micro-smile usually reads better than a full grin. The important part is the eyes: a smile that does not reach the eyes looks forced, and it is the most common reason a photo feels off. Think of something specific rather than saying cheese.
#How many photos should I take to get one good one?
Thirty is a reasonable starting point for one usable frame, and fifty is not excessive when you are learning. Take bursts rather than single shots, change one variable at a time, and review at full size on a larger screen. The goal is not the perfect frame; it is enough choice that you can pick a photo where your eyes are open, your shoulders are down and your expression looks like you.
#Is it okay to edit my photos?
Yes, for light, colour, contrast, cropping and small temporary blemishes. The line is representation: editing that changes your face shape, age, body or skin texture in a way that a person would not recognise in real life stops being an edit and becomes a different person. That distinction matters because dating apps and LinkedIn both require your photo to represent you, and recruiters react badly when they notice.
#When should I use an AI headshot instead of taking a photo?
When you need a polished professional portrait, you do not have a usable photo set, and you are short on time or access to a photographer. An AI headshot built from your own photos can produce consistent lighting, a clean background and a professional crop in minutes. It is not a substitute for a real photo when the context requires proof of presence, such as passport photos or dating app verification.
#What camera settings should I change on my phone?
Turn on the grid and the level indicator, lock focus and exposure by tapping and holding on your face, and switch on Portrait mode only when the background is messy. Avoid digital zoom beyond 2x, and turn off beauty filters that smooth skin or reshape the face. If your phone has photographic styles, choose a neutral one rather than a high-contrast preset.
#How do I take a good photo of myself at home with no natural light?
Use two lamps at eye level, one brighter on the side you want lit, and diffuse both with a white curtain, a sheet or a sheet of tracing paper. Put a plain wall two metres behind you so the light does not fall off too fast. Raise the phone to eye level, avoid the ceiling light directly overhead, and shoot in the evening when you can control every source in the room.
#The Bottom Line
Good photos of yourself are not a talent. They are a procedure: frontal light, distance, eye level, volume of frames, honest editing.
The single most valuable change for most people is the distance. If you take one thing from this guide, take the two-metre rule. Step back, zoom in, and watch your face return to the proportions people actually see. That one change resolves the complaint behind most searches for this topic.
The second most valuable change is volume. Three frames is not a photoshoot; it is a coin flip. Thirty frames with movement between them gives you something to choose from, and choosing is where the quality comes from.
Everything else — the window, the settings, the pose, the edit — is refinement on top of those two.
#Methodology and Sources
This guide distinguishes three kinds of statement:
- Published: a peer-reviewed finding, a platform guideline or a named source.
- Practical: a technique drawn from portrait photography practice, labelled where it is a matter of judgement rather than measurement.
- Opinion: a recommendation from this team, such as the culling order or the editing boundary.
Sources checked on 1 November 2026:
- Ward B, Ward M, Fried O, Paskhover B. Nasal Distortion in Short-Distance Photographs: The Selfie Effect. JAMA Facial Plastic Surgery. 2018;e180009. doi:10.1001/jamafacial.2018.0009. The 30% (male) and 29% (female) nasal-width figures at 12 inches come from this study.
- Apple, Use Photographic Styles and Take portraits, iPhone User Guide, 2026.
- Wirecutter (The New York Times), 7 Easy Tips to Take Even Better iPhone Photos, updated 18 August 2026. Grid, level, AE/AF lock, Portrait mode and Photographic Styles.
- Shotkit, How to Take Great Photos of Yourself (When You're Alone), 2026. Timer, prop surfaces, DIY shutter and the front-camera distance caveat.
- Nothron, How to Take Photos for an AI Headshot Generator and LinkedIn AI Headshot Authenticity.
The selfie distortion study is a mathematical model of perceived proportions, not a clinical measurement of attractiveness. It describes why close cameras change how a face reads; it does not claim that any particular distance is universally flattering.
#Explore Other Nothron Tools
Nothron is not just a headshot generator — it is a complete AI photo studio:
#AI Tools
- Nothron Neural Engine — Sharpen, upscale, and clean up a low-resolution photo
- Nothron Natural Glow — Improve skin tone without making the face look artificial
- Nothron Legacy Touch — Restore an older photo before you rebuild your set
#Photo Editing Tools
- Photo Editor — Adjust brightness, contrast, and background details
- Free Online Image Cropper — Crop to the ratio each app expects
- Free Online Circle Cropper — Preview how a photo reads as a circular avatar
#Dashboard Tools
- Nothron Neural Headshot Generator — Create dating and professional portraits with AI
- Dashboard Neural Engine — Advanced AI photo enhancement
- Dashboard Natural Glow — AI-powered skin tone enhancement
- Dashboard Legacy Touch — AI old photo restoration
#Other Blog Posts
- How to Take Photos for an AI Headshot Generator — The 10–15 photo checklist
- Dating App Photo Guide 2026 — Platform specs, crops and composition rules
- Best Dating App Profile Pictures — What actually moves match rates
- LinkedIn AI Headshot Authenticity — How to keep a portrait recognisably you
- Should You Smile in Your Headshot? — What the research says
- How to Tell If a Dating Profile Is Fake — The mirror image of this advice
- Passport Photo Guide 2026 — When the rules are different
- Photo Cropping Guide — Ratios for every platform
#Author Biography
Nothron Team is a group of AI and photo editing experts dedicated to building the best AI headshot generator and photo editing platform. With years of experience in AI technology, computer vision, and professional photography, we built Nothron as a platform where anyone can create studio-quality portraits. Our mission is to make professional photo editing accessible to everyone through advanced AI technology.
Nothron Team
The Nothron team turns experience in AI, computer vision and professional photography into a photo studio that anyone can use.
Related articles
How to Look Good on Video Calls in 2026: Camera Height, Light and Framing That Actually Work
Nov 3, 2026 · 29 min read
How to Take Good Pictures of Yourself After 60 (Phone Guide)
Nov 2, 2026 · 24 min read
Where AI Photos Are Allowed in 2026: LinkedIn, Dating Apps, Passports and the Law
Oct 28, 2026 · 31 min read