
How to Take Good Pictures of Yourself After 60 (Phone Guide)
A practical guide to taking good photos of yourself after 60: softer and lower light, the right camera height, posing with neck and posture in mind, glasses and grey hair, dating and work photos, and where editing should stop.
ON THIS PAGE
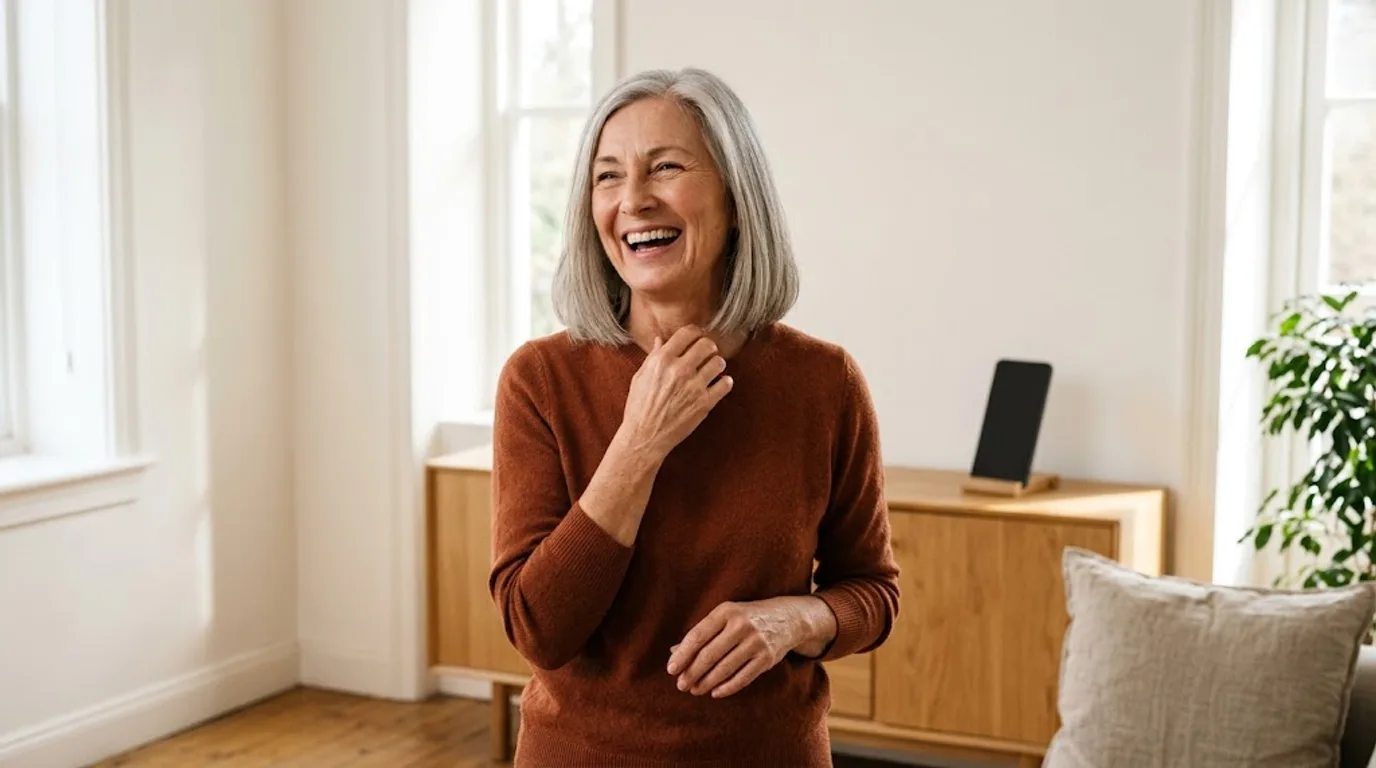
Nearly everyone over 60 who says "I don't photograph well" is describing light and posture, not a face. The light in the room came from above and carved shadows where there are none. The phone was held at arm's length, so the lens stretched the nose and widened the forehead. The camera was below eye level, so the chin and neck took the frame. None of that is ageing. All of it is fixable in an afternoon.
This guide is the version for faces that have lived. It covers the light that flatters older skin, the camera height that helps a neck or a hairline, how to pose when a shoulder is stiff, what to do about glasses and grey hair, how to shoot alone at home, what changes for dating and work photos, and where editing should stop.
If you want the general method first — window light, distance, the selfie distortion problem, culling — read how to take good pictures of yourself with a phone. This article assumes it and goes deeper into the parts that matter more after 60.
#The Short Answer
| Step | What to do | Why it matters after 60 |
|---|---|---|
| 1 | Use a large window in front of you | Soft frontal light fills the shadows that read as lines |
| 2 | Put the light slightly lower than eye level | High light carves shadows under brows and jaw |
| 3 | Stand or sit 1.5–2 m from the phone | Distance stops the lens from distorting your face |
| 4 | Keep the camera at eye level, or a little above | Helps the neck; a little below helps a hairline |
| 5 | Push your jaw forward, don't tilt your head down | Tilting compresses the skin under the chin |
| 6 | Turn your body 45 degrees, then turn your head back | Gives shape and avoids a flat, front-on frame |
| 7 | Take 30 frames and move between them | Stillness reads as tension; movement reads as ease |
The rest of this guide explains each step and the exceptions.
#What Actually Changes After 60
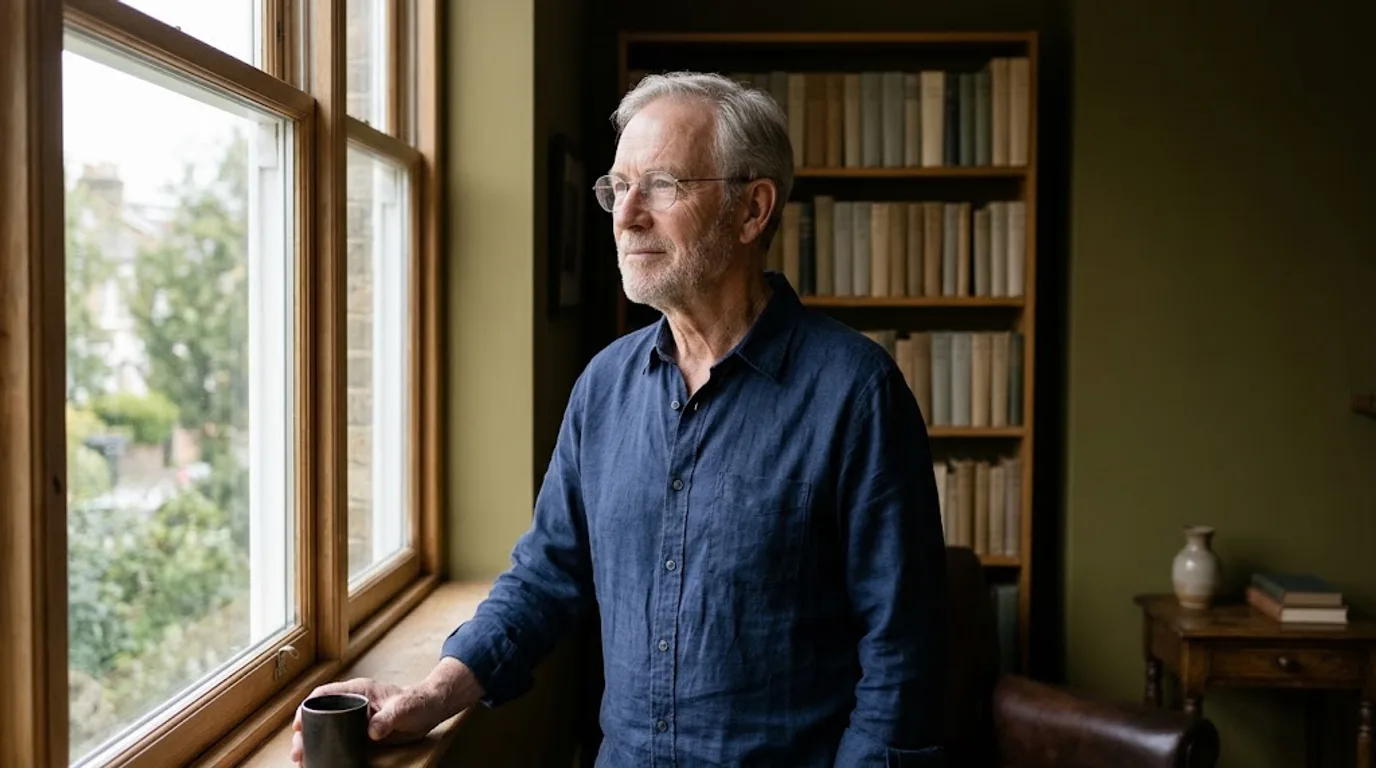
It helps to separate what is real from what a bad photo invents.
#Skin
The outer layer of skin thins with age, and the skin becomes drier and less elastic as collagen and elastin decline. The National Institute on Aging describes the outer layer as getting thinner, paler and less stretchy, with less oil and sweat produced. The American Academy of Dermatology notes that women lose roughly 30% of their collagen in the first five years of menopause and about 2% a year for the next twenty.
What that means for a photograph is specific: skin reflects light differently, fine texture is more visible under hard light, and shadows under the eyes and along the jaw read deeper than they do in a mirror. It does not mean your face is the problem. It means the light has to be softer and the shadows have to be filled.
#Hair
Grey and white hair is brighter than pigmented hair, so it reaches the camera's highlight limit sooner. In practice, a bright window behind you will turn white hair into a solid white shape with no detail, and a flash will do the same. The fix is not to hide the hair; it is to keep the background mid-toned and the light in front of you, then check that you can still see strands rather than a white silhouette.
#Eyes, glasses and hearing aids
Glasses catch reflections, and the older the prescription, the more likely you are dealing with thicker lenses and bifocals that reflect at awkward angles. Hearing aids and their cases can also catch a highlight behind the ear. These are small technical problems with small technical fixes, covered below.
#Posture
Shoulders round forward, and the head drifts forward with them, especially after decades at a desk. In a photo, forward head posture shortens the neck and softens the jawline. It is not a character flaw and it is not permanent in a frame: a chair with a back, a slight lean forward from the hips and a jaw pushed gently toward the camera undo most of it.
#Light: Softer, and Lower
If you change one thing, change the light. It matters more after 60 than any camera setting.
#Use a large window, and face it
Stand or sit facing a window with indirect daylight. The bigger the window, the softer the light, and soft light wraps around texture instead of exposing it. Adobe's portrait guide puts it plainly: as people get older, you want to soften the light, unless you specifically want to accentuate skin texture.
Direct sun is the opposite of what you want. It makes you squint, casts hard shadows and turns every line into a groove. If the only window you have gets direct sun, wait for a cloud, or hang a white sheet across it.
#Lower the light source
This is the single most useful difference between photographing a younger face and an older one. Portrait photographers who work with older clients routinely lower the key light, because light from above casts shadows under the brows, beside the nose and under the jaw, and those shadows emphasise wrinkles and sagging.
A ceiling light is the worst-case version of this. Turn it off. Use a lamp at eye level, or a window, and let the light come at you rather than down at you.
#Fill the shadows
You do not need a reflector to fill shadows. A white wall, a pale curtain, a sheet of paper or a light-coloured table in front of you bounces light back into the face. If one side of your face is much darker than the other, move closer to the window or turn slightly toward it.
For a professional look, the classic advice is a key light only slightly stronger than the fill, which reduces contrast. In a living room, that means one window plus a white wall doing the fill.
#Avoid backlight
A bright window behind you turns your face into a silhouette, and no amount of editing recovers the detail. If the room only works with the window behind you, turn 90 degrees so the light rakes across your face from the side. Side light is dramatic, and it can be beautiful, but it is not the safe default.
#Camera Height, Distance and Lens
#Eye level is the neutral default
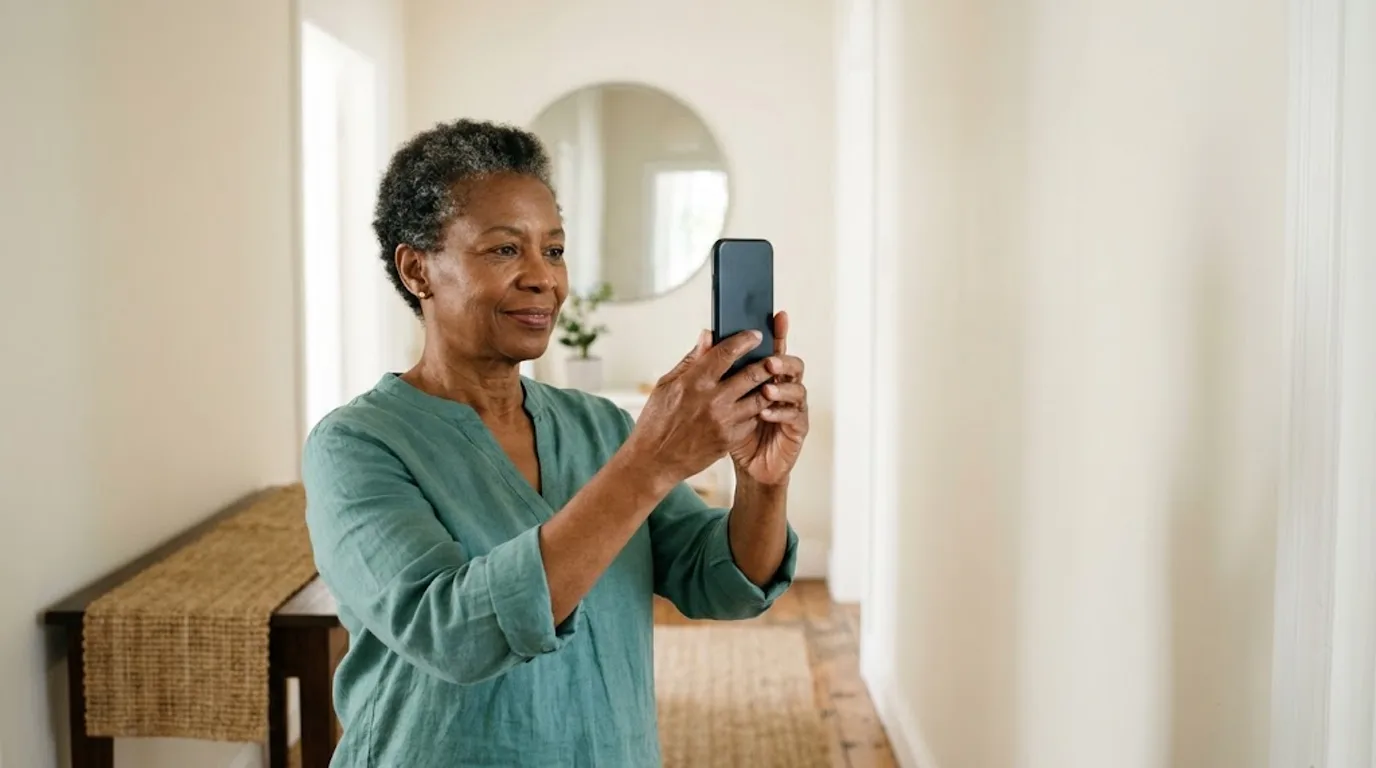
A camera at eye level gives the most accurate proportions. A camera below eye level looks up the nose, emphasises the chin and neck, and makes the jaw look heavier. A camera above eye level enlarges the forehead and makes the eyes look smaller.
After 60, two small deliberate exceptions are worth knowing:
- Slightly above eye level if the neck or jaw is the concern. It lifts the chin, stretches the skin under the jaw and removes the double-chin effect.
- Slightly below eye level if a receding hairline or a bald crown is the concern. It reduces the amount of scalp in the frame.
" Slightly" means a few centimetres, not a dramatic angle. Extreme angles distort proportions and look like a passport photo taken by accident.
#Distance still matters
The selfie distortion problem does not go away with age. A 2018 study in JAMA Facial Plastic Surgery modelled the effect and found that a photo taken at 12 inches, roughly arm's length, increases perceived nasal width by about 30% in men and 29% in women compared with a portrait taken at 5 feet.
The fix is the same as it is at 30: put the phone 1.5 to 2 metres away, then use the 2x lens to fill the frame. If the room is too small, get as far back as you can and crop afterwards. A slightly soft photo with correct proportions beats a sharp photo with a distorted face.
#Use the rear camera when you can
The rear camera is usually better than the front camera and less wide. If you are using a tripod, a timer or a mirror, switch to the rear camera at 2x. The front camera is convenient, but it is the reason so many selfies look unlike the person in them.
#Posing With Neck, Shoulders and Posture in Mind
#Sit if standing is uncomfortable
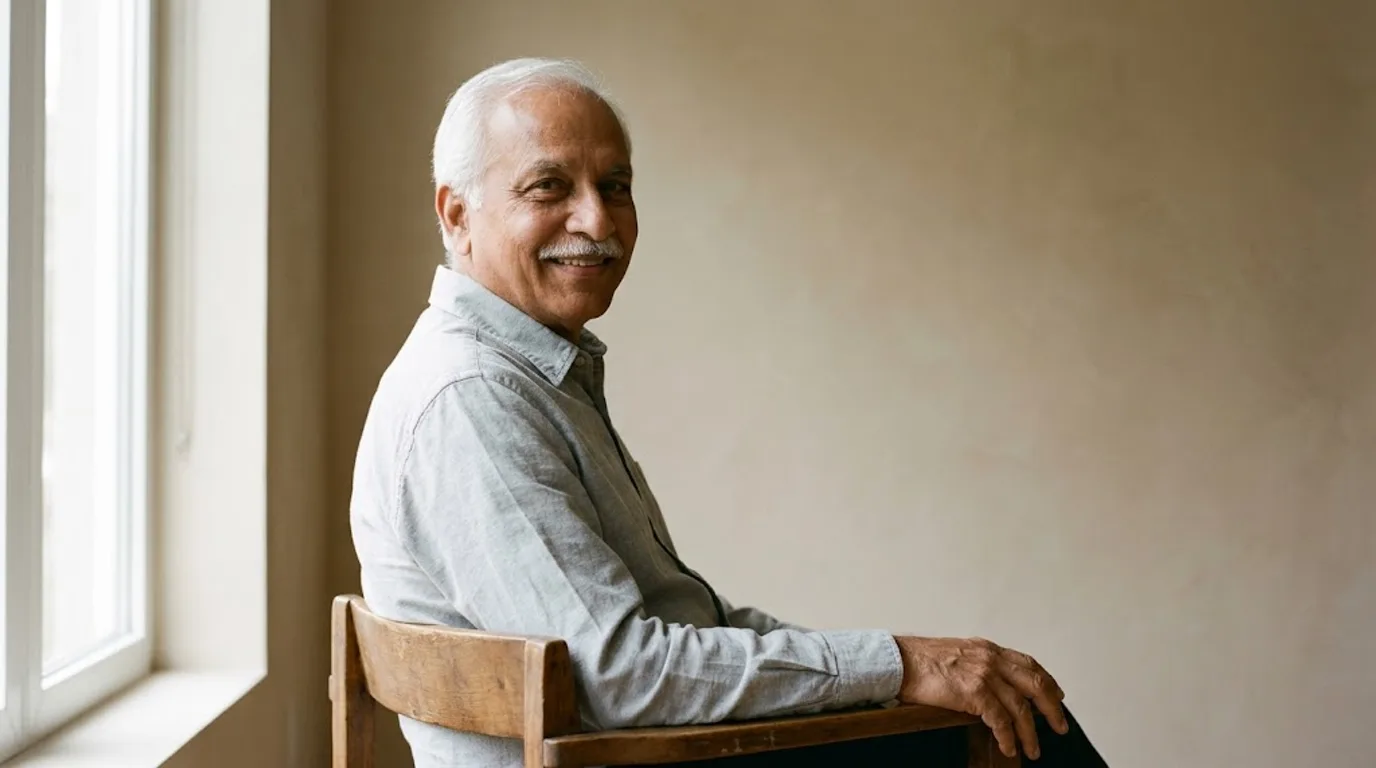
There is no rule that a good portrait has to be taken standing. If you have knee, hip or back issues, sit. A chair with a back is better than a stool, because it supports the spine and prevents the slump that makes anyone look tired.
Sit toward the front edge of the chair, with your back supported but not pressed against the backrest. If the chair is deep, put a cushion behind you. This shifts your weight forward and opens the chest.
#Turn the body, then turn the head
Square-on to the camera is the least flattering angle for almost everyone. Turn your body about 45 degrees away from the lens, then turn your head back toward it. The body angle gives shape; the head angle keeps eye contact.
Avoid tilting your head. Tilting compresses the skin under the chin and creates the crease people worry about. Keep the head roughly perpendicular to the body and push the jaw slightly forward instead. It feels unnatural for three seconds and looks natural in the photo.
#Give the hands a job
One hand on the thigh, one on the chair arm, one holding a cup, one in a pocket. Empty hands hanging at your sides are the most common source of stiffness. If your hands are unsteady, rest them on something solid rather than holding them in the air.
#Keep the shoulders down
Take a breath in, then let the shoulders drop on the exhale. Most people hold their shoulders up around their ears without noticing. Dropped shoulders lengthen the neck and soften the jawline.
#Glasses, Hearing Aids and Grey Hair
#Glasses
Glare is an angle problem, not a lens problem. Move the light source to the side rather than directly in front, tilt your glasses down a fraction, and lower your chin slightly. Anti-reflective lenses help but do not remove the problem entirely. If glare persists, raise the light a little or turn your head a few degrees; the reflection moves as the angle between the lens, the light and the camera changes.
Take the glasses off only if you are comfortable without them. Many people have worn glasses for decades and do not recognise themselves without them. A photo that looks like a stranger is not an improvement.
#Hearing aids
Behind-the-ear aids can catch a highlight. Turn your head a few degrees, or move the light slightly forward, and the highlight usually moves off the device.
#Grey and white hair
Do not fight the hair; manage the exposure. Colour your hair only if you would colour it anyway. Grey and white hair is not a flaw to be corrected; it is a strong visual feature, and it photographs beautifully against a mid-tone background. What matters technically is exposure: white hair blows out highlights more easily than dark hair, so avoid bright backlight and check that the hair still has detail rather than a solid white shape.
- Keep the background mid-toned. A white wall behind white hair removes the edge of your head.
- Avoid backlight, which blows out white hair first.
- Check the highlights at full size. If the hair is a solid white shape with no strands, the frame is overexposed.
- If you do colour, colour it on your normal schedule rather than the day before the shoot. Roots are not a problem; a fresh colour that looks unlike you is.
#What to Wear
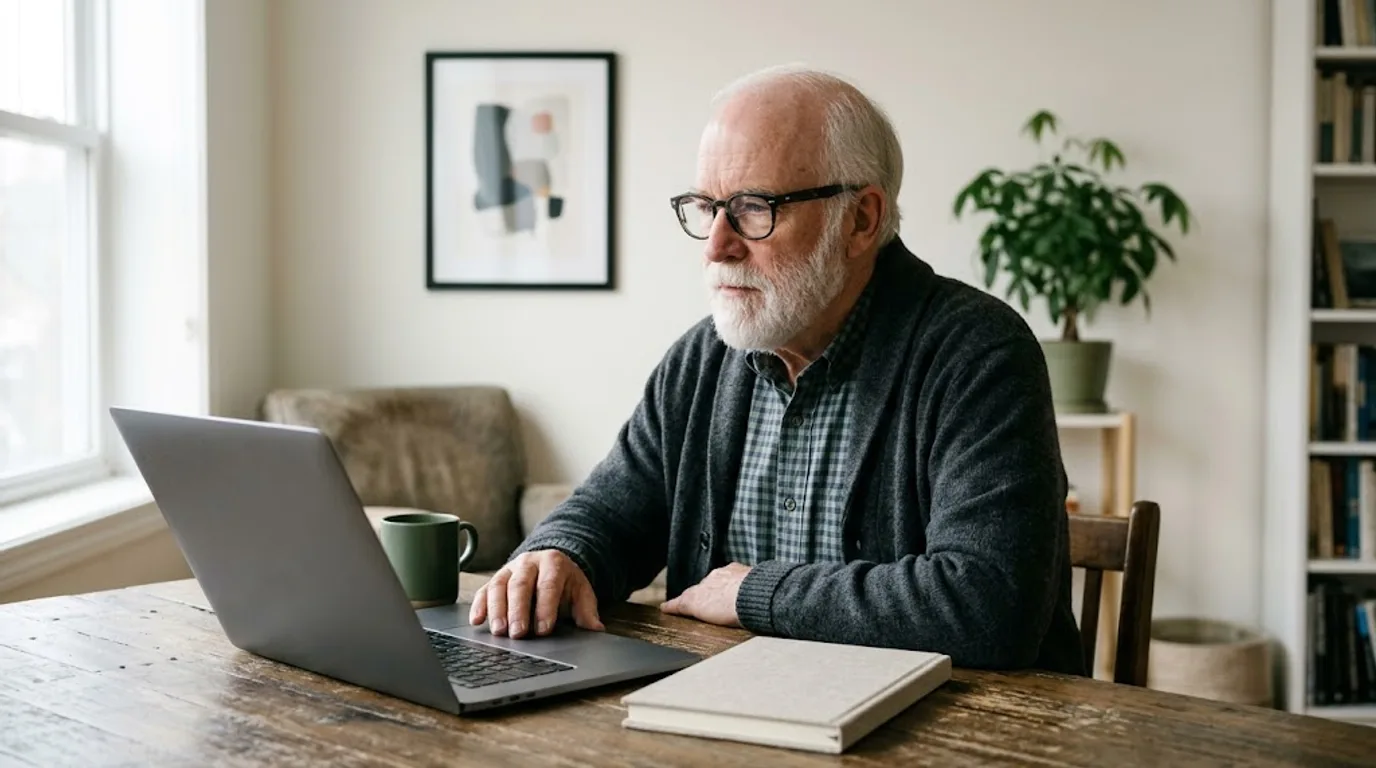
The rules are simple. A solid colour in a mid-tone that contrasts with the background and with your hair. Navy, olive, rust, teal and soft burgundy all work well. Avoid pure white next to a white wall and all-black in low light, both of which flatten the image. A collar frames the face; a soft knit photographs warmly. Wear something you would actually wear, because the photo has to look like your life.
Patterns are not forbidden, but fine stripes and small checks produce a shimmering effect on a phone sensor. If you want a pattern, make it large and simple.
#Shooting Alone at Home
The setup is the same as it is at any age, with a few adjustments for comfort and reach.
- Choose a window and a chair or a standing spot.
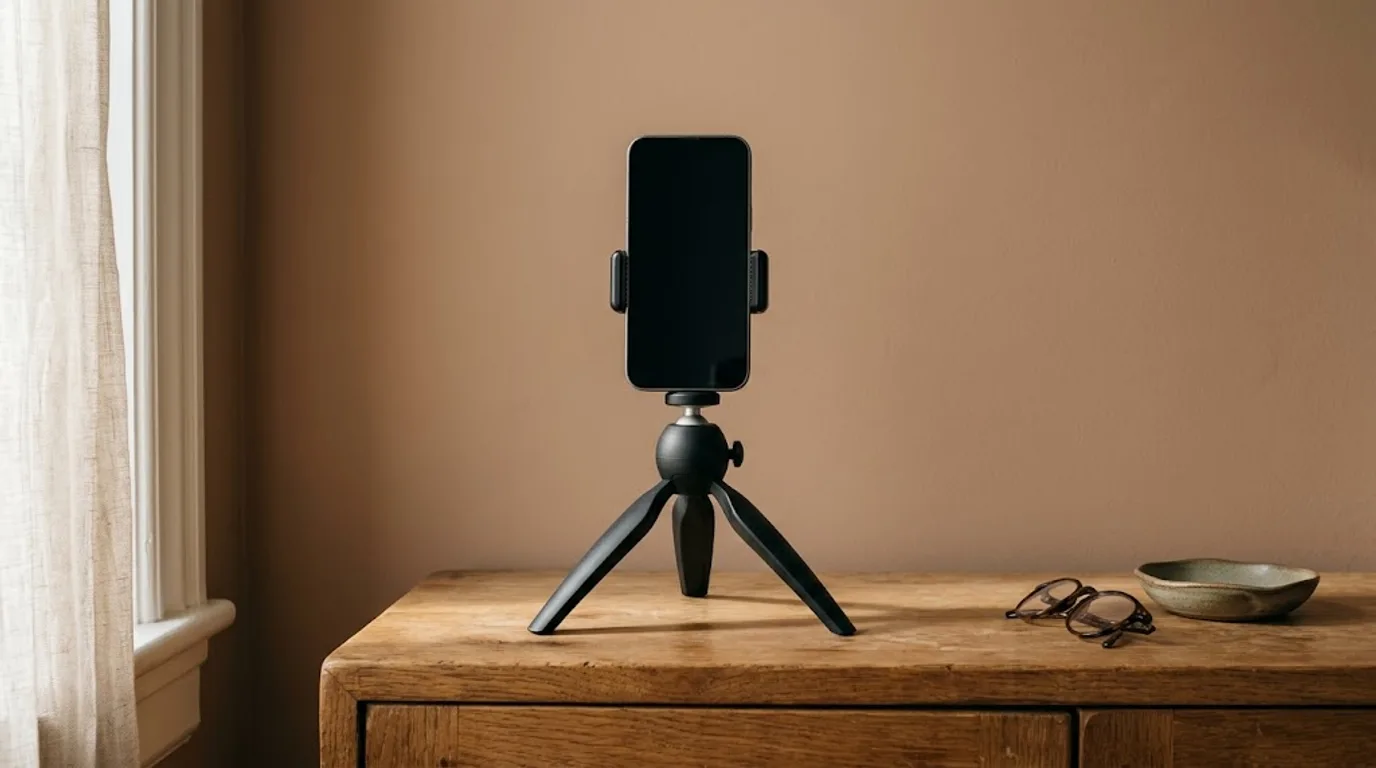
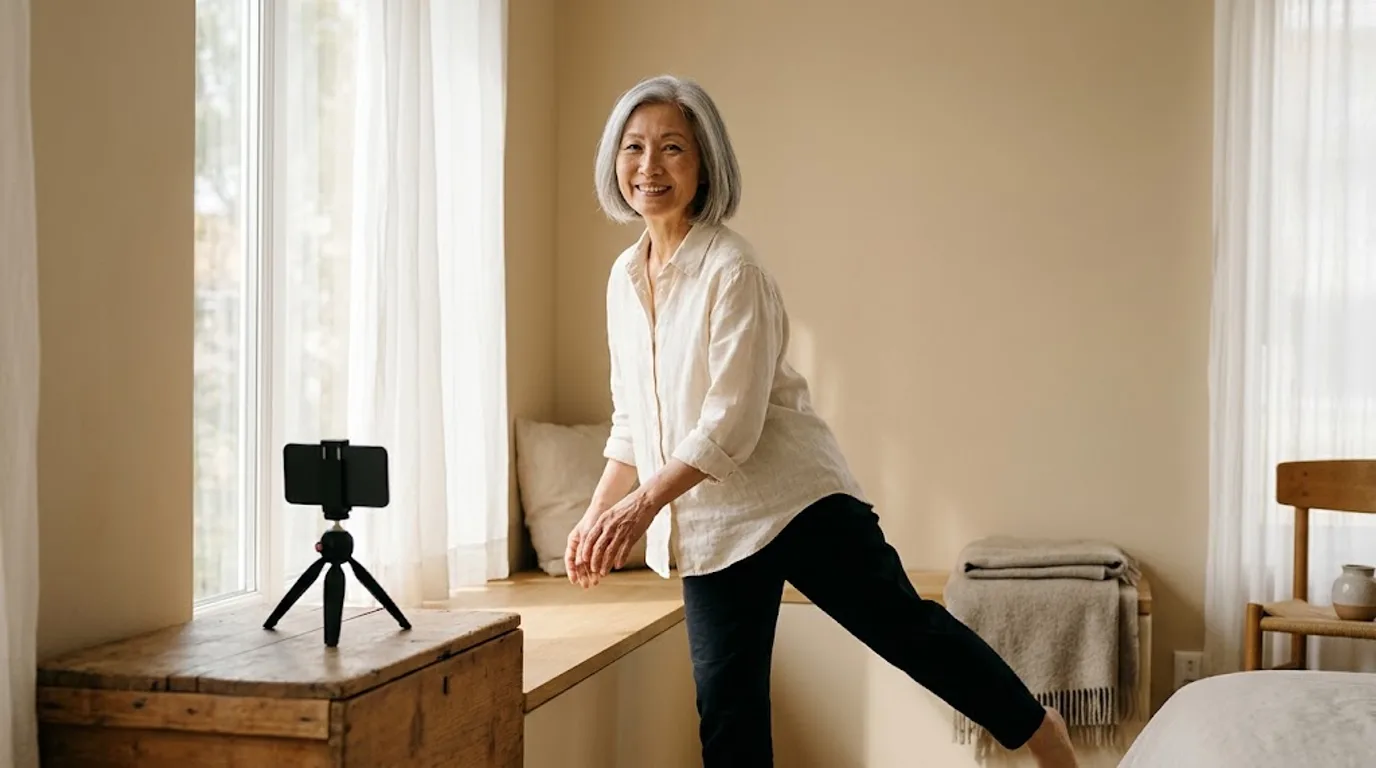
- Put the phone 1.5–2 metres away at eye level. A stack of books, a shelf, a sideboard or a small tripod all work.
- Switch to the rear camera and 2x.
- Turn on the grid and the timer.
- Lock focus and exposure on the spot where your face will be.
- Take 30 frames, moving between them.
#Make the phone easier to use
If small text is a problem, increase the display size before you start, or use the camera's voice shutter if it has one. A Bluetooth remote or a paired earbud lets you trigger the shutter without touching the phone, which is useful when the phone is across the room.
#If you use a walker or a cane
Keep it in the frame if it is part of your life; a photo that hides it looks staged. If you would rather not show it, sit for the photo and leave the walker just outside the frame, within reach.
#Safety
Do not balance the phone on something that can tip. Do not run cables across a walking path. If you are shooting alone and standing, keep a sturdy chair within reach.
#What Changes for Dating Photos After 60
Online dating is not a young person's activity. Pew Research Center found that about 20% of Americans aged 50 to 64 and 13% of those 65 and older have used a dating site or app.
The mechanics are the same, but the emphasis changes. Warmth and credibility matter more than polish. You need a clear face photo, a full-body photo, and at least one frame that shows what you actually do with your time. Honest recent photos outperform older or heavily edited ones, because the first meeting is the real test and the photo is a promise.
#Lead with a clear, recent face photo
Not a photo from five years ago, not a photo with a hat and sunglasses, not a group photo where the viewer has to guess which one you are. A clear face photo in soft daylight, taken this year, does more than any amount of clever framing.
#Show your actual life
A full-body photo, a photo doing something you genuinely do — gardening, walking, cooking, fishing, dancing, travelling — and one social frame with friends or family. The goal is not to look younger. It is to look like someone whose company is pleasant.
#Be honest about age
If you are 64, say 64. A photo that implies 52 creates a first meeting that cannot go well. The research on deception in dating profiles is consistent: people react badly not to the age itself but to the discovery that the photo was a promise the person could not keep.
#Skip the heavy filters
Smoothing filters after 60 are especially visible, because they remove the texture that makes a face recognisable. Keep the skin texture and fix the light instead.
#What Changes for Work and Encore-Career Photos
A professional photo after 60 has a different job from a dating photo: it has to say "competent" before it says "warm".
- Background: plain, mid-toned, uncluttered. A wall, a curtain, a door.
- Light: soft and frontal, slightly lower than eye level.
- Expression: a micro-smile, mouth closed or barely open, eyes engaged.
- Clothing: a solid colour, a collar, one level above your daily default.
- Crop: head and shoulders, eyes in the upper third, no excessive headroom.
If you are consulting, freelancing or returning to work, this is the photo that appears next to your name on a proposal. It is worth thirty frames and an afternoon.
#Editing: Keep the Face You Have
Editing should finish a photograph, not replace the person in it.
#Safe edits
- Exposure: brighten a slightly dark frame or recover a slightly hot one.
- White balance: remove the yellow cast from indoor light or the blue cast from shade.
- Contrast: a small lift so the image does not look flat.
- Cropping: tighten to the face, level the horizon, remove edge distractions.
- Temporary blemishes: a crumb, a smudge, a spot on the lens.
- A little sharpening if the frame is slightly soft.
#Edits that cross the line
- Removing every line. A face with no lines is not a younger face; it is a mask. People recognise the difference instantly in person.
- Lifting the jaw or reshaping the face. This is the edit that makes the photo a different person.
- Removing skin texture. Poreless skin is the strongest "edited" signal there is, and it looks especially unnatural on older skin.
- De-aging the neck and hands. Hands and necks age in ways that faces do not, and a smooth neck above textured hands is a tell.
- Teeth that glow. Slightly brighter is fine; unnaturally white is not.
The test is simple: would someone who meets you tomorrow recognise you from this photo? If yes, the edit is fine. If they would hesitate, it is not.
#When an AI Headshot Makes Sense After 60
AI headshots are useful, and they are also where the biggest risk lives for older faces: de-aging.
Is it okay to use one? Yes, for a professional or dating profile, provided the result still looks like you at your current age. The risk with AI after 60 is de-aging: a model that smooths every line produces a portrait of a person you no longer are, and people notice immediately in person. Use a tool built from your own photos, check that the result keeps your features and your age, and keep real photos for anything that requires proof of presence.
It makes sense when:
- You need a professional portrait and do not have a usable recent photo.
- You cannot get to a photographer or good light.
- You need a consistent photo for a website, a proposal or a team page.
- You want several looks from one session.
It does not make sense when:
- The result erases your age. A 65-year-old with a 45-year-old's face is not a better photo; it is a photo that creates an awkward first meeting.
- The context requires proof of presence, such as a passport or a dating app verification photo.
- The platform prohibits generated images for that use.
Our Nothron Neural Headshot Generator is built from your own photos and aims to preserve your features rather than invent a face. If you are preparing input photos, the checklist in how to take photos for an AI headshot generator applies at any age.
#Frequently Asked Questions
#How can I take a good photo of myself after 60 with just a phone?
Use soft light from a large window in front of you, place the phone one and a half to two metres away at eye level, and use the rear camera at 2x rather than the front camera. Turn your body slightly away from the lens, bring your jaw forward rather than tilting your head, and take thirty frames instead of three. Soft light and distance do more for a face after 60 than any filter.
#Why do photos make me look older than I do in the mirror?
Usually because of hard light from above. Light coming from a ceiling fixture or a high window casts shadows under the brows, beside the nose and under the jaw, and those shadows read as deeper lines than you have in daylight. A large window in front of you, or a lamp lowered to eye level and diffused, fills those shadows and makes the face look the way people actually see it.
#Should I hold the phone higher or lower for my face?
Eye level is the neutral default. Slightly above eye level helps if you are concerned about the neck or jaw, because it lifts the chin and stretches the skin under the jaw. Slightly below eye level helps if you are concerned about a receding hairline or a bald crown, because it reduces the amount of scalp in the frame. Avoid extreme angles in either direction; they distort proportions.
#How do I stop my neck from looking creased in photos?
Push your jaw slightly forward toward the camera instead of tilting your head down, and keep your head perpendicular to your body. Tilting the head compresses the skin under the chin. If the neck still bothers you, raise the camera a little above eye level and angle your chin down slightly toward it, which stretches the area without creating a double chin.
#What is the best lighting for older skin?
Large, soft, diffused light placed slightly lower than you would use for a younger face. A big window with indirect daylight is ideal. Hard light, small lamps and ceiling fixtures emphasise texture and cast shadows that look like deeper wrinkles. Photographers who work with older clients routinely lower the key light and add fill, because high light carves shadows under the eyes and along the jaw.
#How do I take photos with glasses without glare?
Move the light source to the side rather than directly in front, tilt your glasses down a fraction, and lower your chin slightly. Anti-reflective lenses help but do not remove the problem entirely. If glare persists, raise the light a little or turn your head a few degrees; the reflection moves as the angle between the lens, the light and the camera changes.
#How should I pose if I have neck or shoulder stiffness?
Sit rather than stand, choose a chair with a back, and sit toward the front edge so you are not slumped. Turn your body about 45 degrees away from the camera, then turn your head back toward the lens. Rest one hand on your thigh or the chair arm. This gives support, keeps the shoulders open and avoids the posture that makes people look tired.
#Should I colour my hair before a photo?
Only if you would colour it anyway. Grey and white hair is not a flaw to be corrected; it is a strong visual feature, and it photographs beautifully against a mid-tone background. What matters technically is exposure: white hair blows out highlights more easily than dark hair, so avoid bright backlight and check that the hair still has detail rather than a solid white shape.
#What should I wear for a photo after 60?
A solid colour in a mid-tone that contrasts with the background and with your hair. Navy, olive, rust, teal and soft burgundy all work well. Avoid pure white next to a white wall and all-black in low light, both of which flatten the image. A collar frames the face; a soft knit photographs warmly. Wear something you would actually wear, because the photo has to look like your life.
#Are dating app photos after 60 different from younger photos?
The mechanics are the same, but the emphasis changes. Warmth and credibility matter more than polish. You need a clear face photo, a full-body photo, and at least one frame that shows what you actually do with your time. Honest recent photos outperform older or heavily edited ones, because the first meeting is the real test and the photo is a promise.
#Is it okay to use an AI headshot after 60?
Yes, for a professional or dating profile, provided the result still looks like you at your current age. The risk with AI after 60 is de-aging: a model that smooths every line produces a portrait of a person you no longer are, and people notice immediately in person. Use a tool built from your own photos, check that the result keeps your features and your age, and keep real photos for anything that requires proof of presence.
#How many photos should I take to get one I like?
Thirty is a reasonable starting point, and fifty is not excessive. Change one thing between frames: the angle of your shoulders, the height of your chin, the direction of your gaze. Review at full size on a larger screen rather than on the phone, because sharpness and expression read differently at 100 percent. Two or three usable frames from thirty is a normal ratio.
#The Bottom Line
Good photos after 60 are not about looking younger. They are about removing the things that make you look older than you are: hard light from above, a camera held too close, a head tilted down, shoulders hunched forward.
Fix the light first. Soft, frontal, slightly lower than eye level. Then fix the distance: two metres, 2x, rear camera. Then fix the posture: sit if you need to, turn the body, push the jaw forward, drop the shoulders. Then take thirty frames and choose honestly.
The face in the photo should be the face that walks into the room. Everything else is technique.
#Methodology and Sources
This guide separates three kinds of statement:
- Published: a peer-reviewed finding, a public-health source or a named photography guide.
- Practical: a technique drawn from portrait photography practice, labelled where it is judgement rather than measurement.
- Opinion: a recommendation from this team, such as the editing boundary or the culling order.
Sources checked on 2 November 2026:
- National Institute on Aging (NIH), Skin Care and Aging. Thinning outer layer, reduced elasticity, less oil and sweat.
- American Academy of Dermatology, Caring for your skin in menopause. Collagen loss figures: about 30% in the first five years of menopause, then about 2% a year for twenty years.
- Adobe, Portrait photography tips and ideas from experts. Quoted guidance on softening light for older faces.
- Digital Photography School, A Beginner's Guide to Taking Portraits of Elderly Clients: Part 2 – Lighting and Posing. Lower key light, soft diffused light, short lighting, glasses reflections, grey-hair exposure, chair support and jaw-forward posing.
- Ward B, Ward M, Fried O, Paskhover B. Nasal Distortion in Short-Distance Photographs: The Selfie Effect. JAMA Facial Plastic Surgery. 2018;e180009. The 30% (male) and 29% (female) figures at 12 inches.
- Pew Research Center, Dating at 50 and up: Older Americans' experiences with online dating, 2023. The 20% (50–64) and 13% (65+) online-dating figures.
- Nothron, How to Take Good Pictures of Yourself in 2026. The general method this guide builds on.
The collagen figures describe skin physiology, not attractiveness. The lighting guidance is a photographic convention, not a medical recommendation. If a skin concern is new, painful or changing, ask a dermatologist rather than a camera.
#Explore Other Nothron Tools
Nothron is not just a headshot generator — it is a complete AI photo studio:
#AI Tools
- Nothron Neural Engine — Sharpen, upscale, and clean up a low-resolution photo
- Nothron Natural Glow — Improve skin tone without making the face look artificial
- Nothron Legacy Touch — Restore an older photo before you rebuild your set
#Photo Editing Tools
- Photo Editor — Adjust brightness, contrast, and background details
- Free Online Image Cropper — Crop to the ratio each app expects
- Free Online Circle Cropper — Preview how a photo reads as a circular avatar
#Dashboard Tools
- Nothron Neural Headshot Generator — Create dating and professional portraits with AI
- Dashboard Neural Engine — Advanced AI photo enhancement
- Dashboard Natural Glow — AI-powered skin tone enhancement
- Dashboard Legacy Touch — AI old photo restoration
#Other Blog Posts
- How to Take Good Pictures of Yourself in 2026 — The general phone-only method
- How to Take Photos for an AI Headshot Generator — The 10–15 photo checklist
- Dating App Photo Guide 2026 — Platform specs, crops and composition rules
- LinkedIn AI Headshot Authenticity — How to keep a portrait recognisably you
- Should You Smile in Your Headshot? — What the research says
- How to Tell If a Dating Profile Is Fake — What other people look for in your photos
- Passport Photo Guide 2026 — When the rules are different
#Author Biography
Nothron Team is a group of AI and photo editing experts dedicated to building the best AI headshot generator and photo editing platform. With years of experience in AI technology, computer vision, and professional photography, we built Nothron as a platform where anyone can create studio-quality portraits. Our mission is to make professional photo editing accessible to everyone through advanced AI technology.
Nothron Team
The Nothron team turns experience in AI, computer vision and professional photography into a photo studio that anyone can use.
Related articles
How to Look Good on Video Calls in 2026: Camera Height, Light and Framing That Actually Work
Nov 3, 2026 · 29 min read

How to Take Good Pictures of Yourself in 2026 (Phone-Only Guide)
Nov 1, 2026 · 25 min read

Where AI Photos Are Allowed in 2026: LinkedIn, Dating Apps, Passports and the Law
Oct 28, 2026 · 31 min read